Ultrasound Transducer Inspection | TEE, Standard and 3D/4D

Ultrasound Transducer Inspection | TEE, Standard and 3D/4D
Feb. 26, 2019
Brian Gill
Read Time: 4 minutes
Read Time: 4 minutes
Ultrasound Transducer Inspection
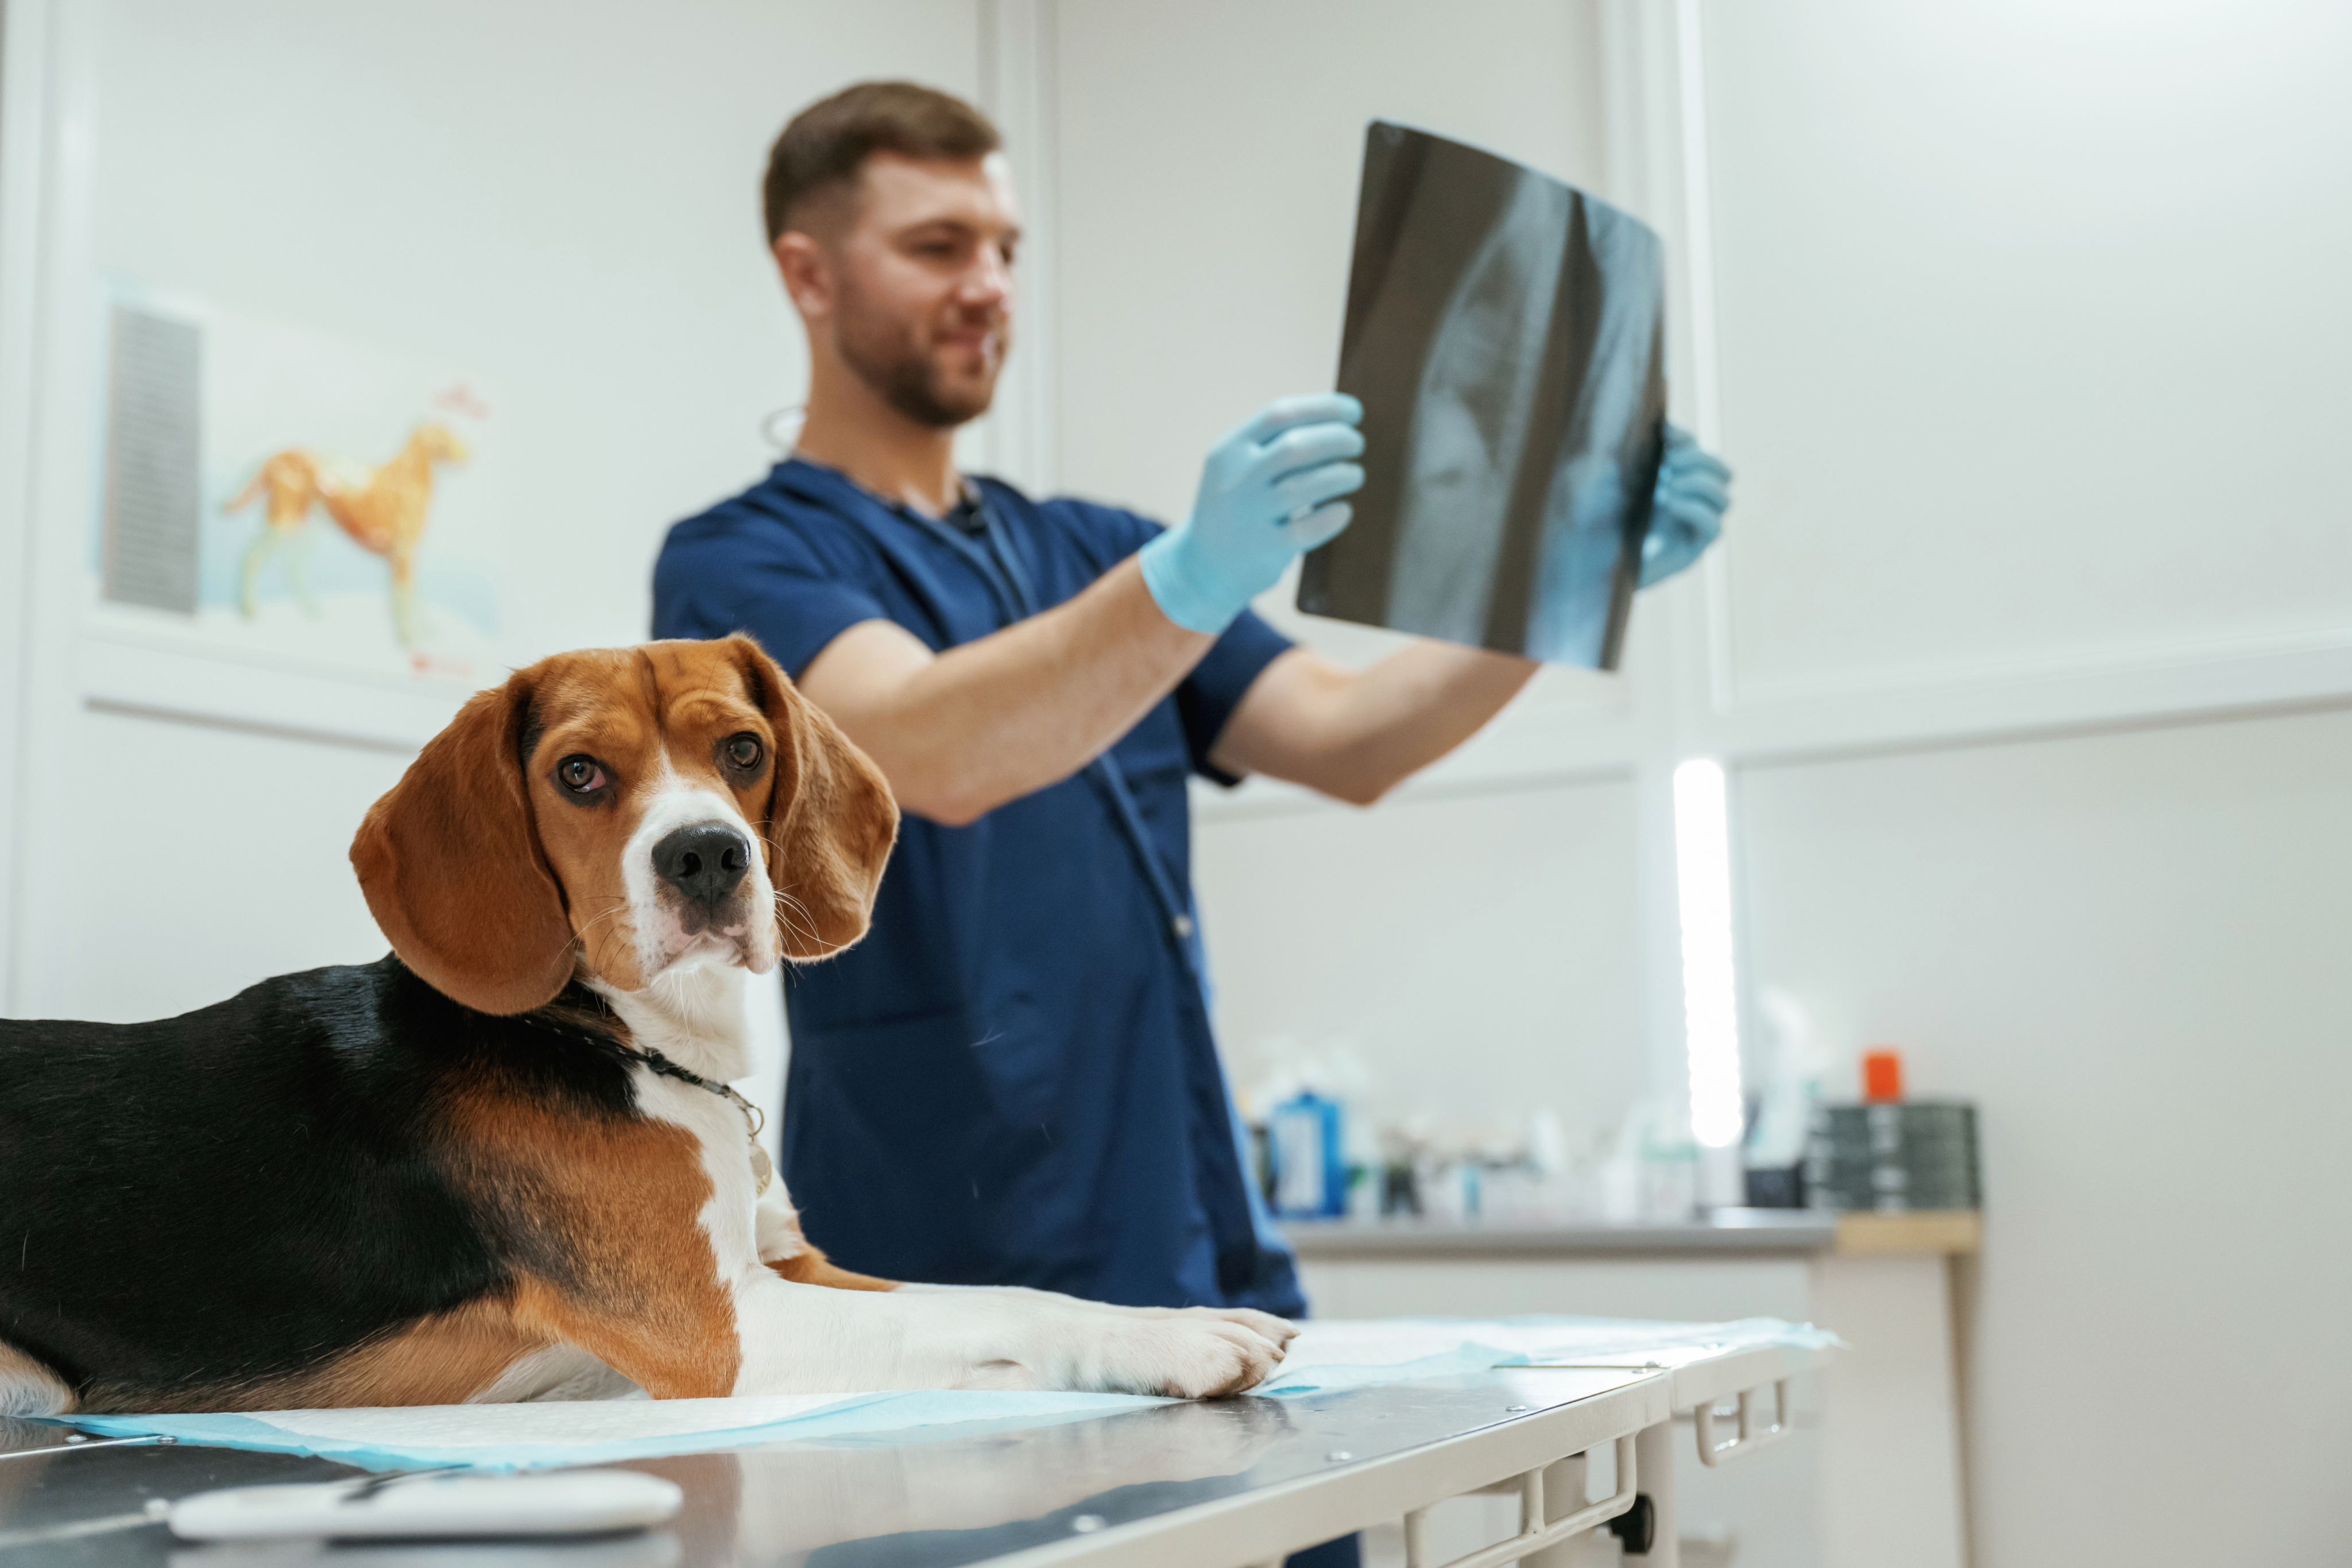
Standard transducers do not suffer as much damage as internal transducers - TEE, EV, ER, Surgical, etc. - however both still need to be taken care of properly. Transducer inspection is recommended to be done often and for concerns to be addressed immediately. We provide advice on transducer inspection for an ultrasound probe and what to look for when inspecting a standard, a 3D/4D and a TEE transducer. For more information on how Probo Medical can fix your ultrasound probe or professionally inspect it, visit our repair services page.
Standard Ultrasound Transducer Inspection
- Holes: Transducer should be without any holes, cuts in the cable or lens material. A hole may create high current leakage and could pose a risk to the patient. Sometimes it’s unclear if there is a nick in the material or a hole, but it can be determined by testing it. To help, Probo Medical offers free evaluations and free same-day loaners.
- Strain Relief: The strain relief nose and connection should be solid and not pulling away or torn. The damage is more common to happen at the nose or the connector end. This is a small issue that can have big consequences if not resolved. Good news, it’s also very repairable.
- Cracks or Separation: Check for cracks or separation in the casing. It’s often considered to be the least concern among failures because it’s hard to understand how much damage can occur from a small crack or separation. Unfortunately, gel can get inside and destroy the probe.
- Gel Damage/Build-Up: Check connectors for gel, bent pins, or damage. Gel can occasionally drip onto the connector, especially over time. A common example of how this can happen is if the probe connector is sitting below where the gel bottle is stored. Fortunately, with diligence, the probe can typically be restored by a trained technician.
TEE Ultrasound Transducer Inspection
Inspecting TEE transducers is very similar to the procedure used for standard transducers. However, you need to look closer as the problems on TEE probes are often very small. Sometimes you even need to use a magnifying glass to see the issues. You’ll want to pay attention to the tip, bending rubber and insertion tube. Below is an example of the TEE transducer anatomy for reference:

Over time, the articulation can loosen and need to be adjusted. This can cause fluid intrusion that will create corrosion. The image blow goes to show how a little fluid causes big problems if not opened and dried out. Other common issues with articulation include corrosion in controls and broken steering cables.
The insertion tube is most often damaged by the patient biting the probe. The damage will most likely be holes or crushed areas and, unfortunately, fluid finds all holes no matter how small. If the probe wasn’t checked for damage after the study, it will have fluid intrusion in the hole. The insertion tube must be checked closely after each patient since the holes can be tiny.

The bending rubber is typically the most damaged part of the TEE. It can simply wear out over time, but it is often bitten through or damaged by long exposure to disinfectant. When this happens, the bending rubber can become porous and allow fluid to seep through. Some customers have started replacing the bending rubber on some TEEs after a year or so as a preventative measure to keep the risk of outright failure lower in the long run. How often this is necessary depends on the amount of usage.
If the glue beads in bending rubber break, fluid has easy access into the TEE. Foreign body material can also build up in the cracks. Also, for TEE probes, cracks in the connector are usually caused by dropping the probe or fluid intrusion. If the fluid intrusion is Cidex, it will start corroding the wires quickly.
The tip and array are most often physically damaged in handling or via biting. Since these pieces are made of hard plastic, when broken, there is a very open hole for fluid. The fluid is also already right where the array is located, and expensive damage is likely if not the destruction of the transducer.
The array is often scratched or gouged by patients’ teeth. If it is not cleaned properly, it creates a build up around the array membrane most likely made of dried disinfectant and foreign body material.
For more information on how to properly inspect your TEE Ultrasound probe, consult the manufacturer, the reading materials that came with the probe and with the cleaning materials used, and your biomedical engineers and infection control specialists.
Need to Fix your Ultrasound Probe?
If you need a free evaluation from Probo Medical, give us a call on 01452 729380 or email us at [email protected] and one of our knowledgeable ultrasound transducer sales specialists will help you! Visit our repair page for more information.
About the Author
Brian Gill is Probo Medical’s Vice President of Marketing. He has been in the ultrasound industry since 1999. From sales to service to customer support, he has done everything from circuit board repair and on-site service to networking and PACS, to training clinicians on ultrasound equipment. Through the years, Brian has trained more than 500 clinicians on over 100 different ultrasound machines. Currently, Brian is known as the industry expert in evaluating ultrasounds and training users on all makes and models of ultrasound equipment, this includes consulting with manufacturers with equipment evaluations during all stages of product development.